Building Everest
From Topo Map To Scale-Sized Model
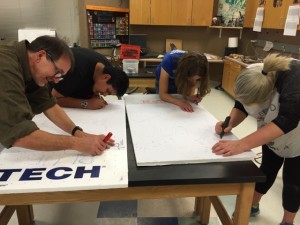
Using our after school time, some other students and I participated in building a scale sized model of everest. We would eventually like to create three models. This would make one for each eighth grade Language Arts class.
I came into this activity not knowing what to expect. I had no experience with topo maps whatsoever. I participated mainly because I am interested in how the map works. It sounded like a useful tool to me. I would definitely recommend that anyone who has even the slightest interest come and try it out!
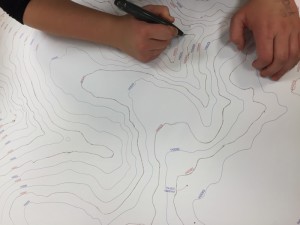
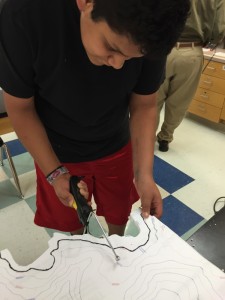
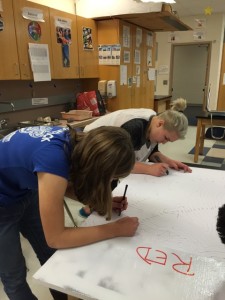
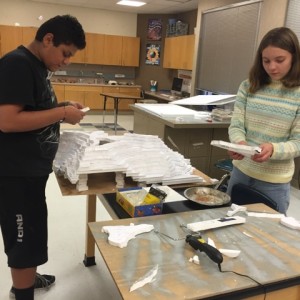
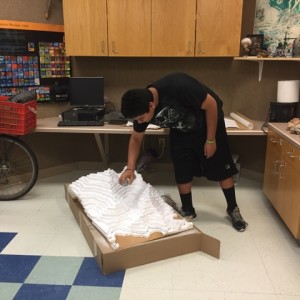
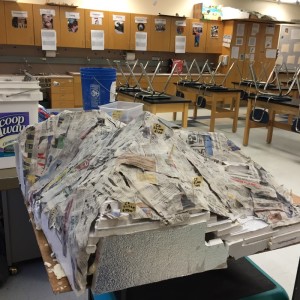
We started off my using a razor blade to outline the map which is on styrofoam. There were two maps about the size of one of the desks. Each map had two colors to represent the elevation. One group would cut one of the colors while the other group cut the other colors. These would later be placed in a staircase form, alternating between colors. We used a spray-on glue to get the styrofoam together. Building bases is needed to keep the model upright. The bases are also needed to hold the weight of the plaster.
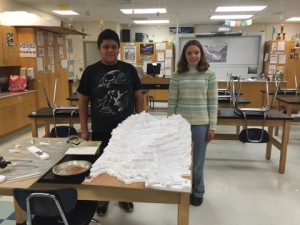
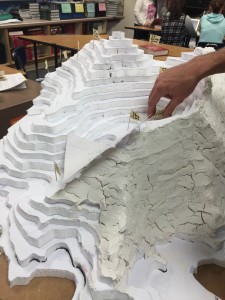
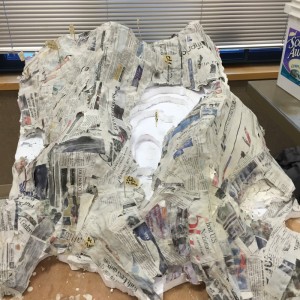
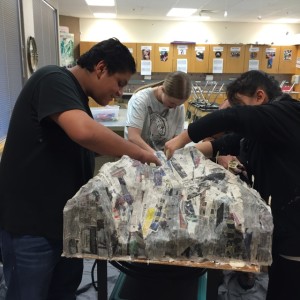
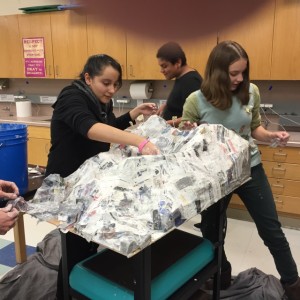
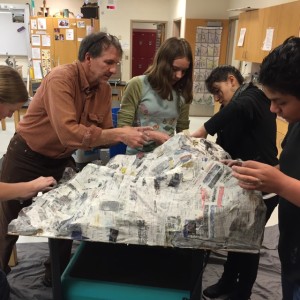
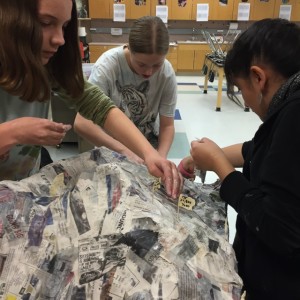
It took us two one-hour days to put the model together. Plastering the model would be the next step. We had a bit of trouble with the plaster, but we figured it out after a while. We are still working on plastering the model, and two more models have to be made. We’re making progress, and I’m quite excited about it. I’m sure everyone else who participates is excited as well.
Teachers helping with the project are Mr. Poklmeba, Mr. Gasenica, and Mr. Wilson. The model may be viewed in Mr. P’s room in the 8th grade hall.
There will be more updates on this project soon! Stay tuned!
We used razor blades to cut through the styrofoam
We then used a hot wire cutter to cut through the styrofoam.
We built the model itself
Our first job plastering wasn’t a great success, so we used paper mache instead.
